Fall Painting TutorialPatti - 03. November 2017
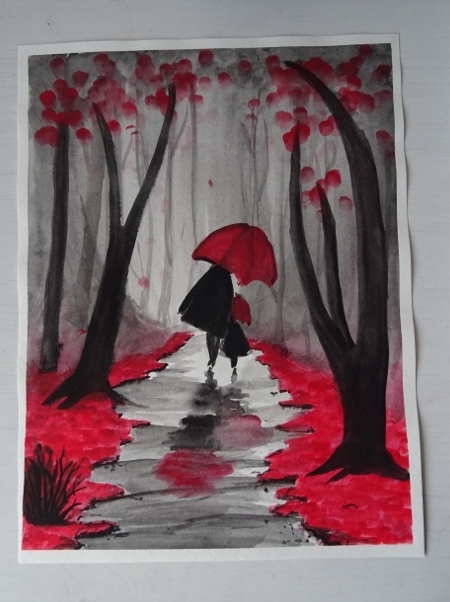
Fall Painting Tutorial
I came across this watercolor painting tutorial on Pinterest while searching for fall art ideas. As far as I can tell, the original comes from a Paint Nite© lesson, but I have not found the original link yet. I took pictures of each stage so you can try it out at home, too!
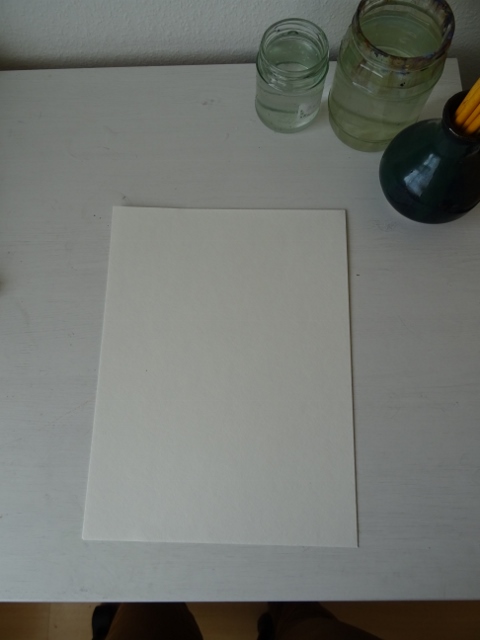
Start with a blank piece of watercolor paper. You will need two jars of water (one for cleaning your brush, the other for adding water to paint), some brushes (one thin brush and one medium size should be just fine), and some water colors. You can use a cheap children’s set or fancy colors. I used something in between. You will only need red and black. For beginners: the more water you add to a color, the lighter and more transparent it is. It may be nice to have a palette of some sort to mix different shades of the same color. For details, you will use just a little bit of water to get a nice, opaque line.
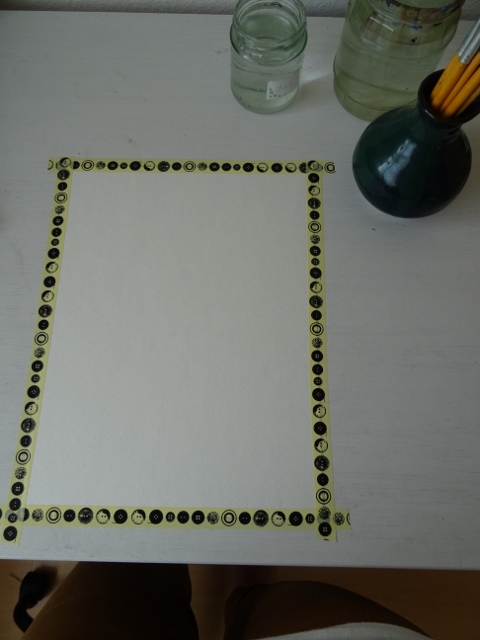
I like to tape down the edges to keep the paper from warping too much when it gets wet.
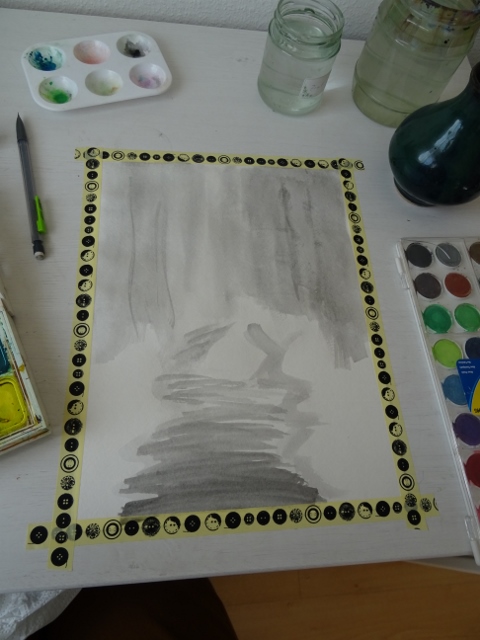
Start with adding a lot of water to black and outline a road in light gray. Add some shadows where eventually you will paint trees making the outside edges darker and the middle fairly light. I put trees in the background already at this point and regretted it later, so don’t bother with that.
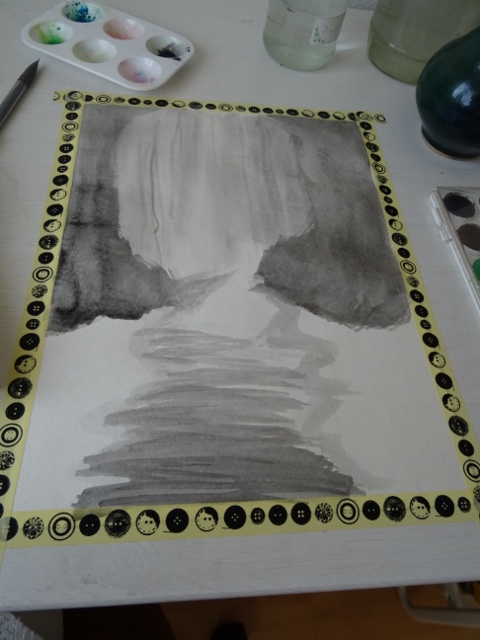
Add a few more layers of shadows, and roughly fill in the road, leaving the distance light and a white space on the road.
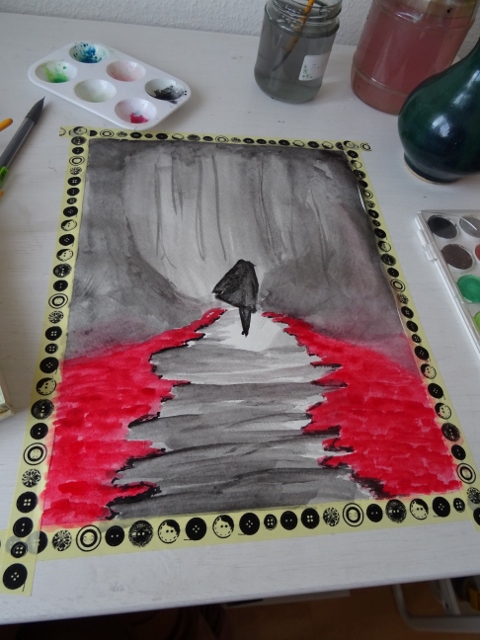
Add dabs of bright red for leaves along the road. Your first layer probably won’t look right, so let it dry a few minutes and add another layer.
To give the leaves on the ground some dimension, paint a very thin line of black around the edges. The further down the road you go, the thinner the lines should be.
Above the white space, paint a slightly crooked triangle with the point cut off for the coat, then add a long thin triangle beneath for the legs. Fill in the coat by painting a dark outline, then draw the color into the empty space with a clean, wet brush.
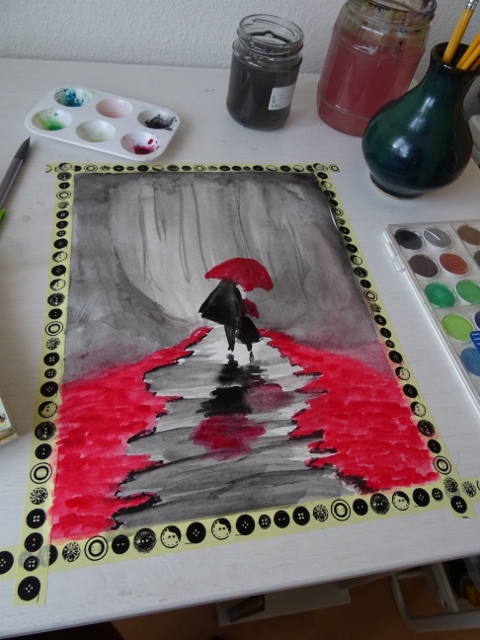
Paint an umbrella shape above the triangle in red. I added another little girl to mine since I have a daughter, but feel free to customize however you want!
For the reflections, paint an upside down ice cream cone, with the point of the cone starting at the feet of your person, and making the “ice cream” red. Go back and forth horizontally, not being too careful to fill in all of the space, since reflections are wavy anyway. Add a reflection for any additional people in your painting.
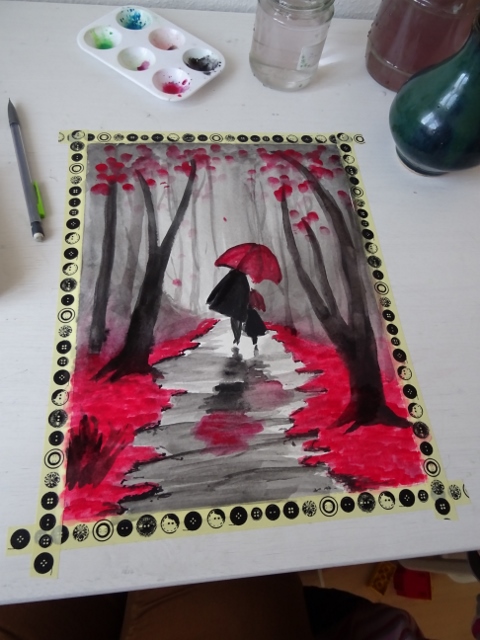
Add trees with a thick brush on either side of the road, making those in the foreground darker and bigger, and the background lighter and smaller. Dab some gray leaves onto the background trees, and red leaves in the foreground. I added a bush in the corner because I thought it looked empty, but I think I should have left it alone.
Add some detail to your umbrella by painting a darker line (either gray or darker red) along the outline and spokes. Pull the color into the middle with a wet brush so that it looks less like an illustration.
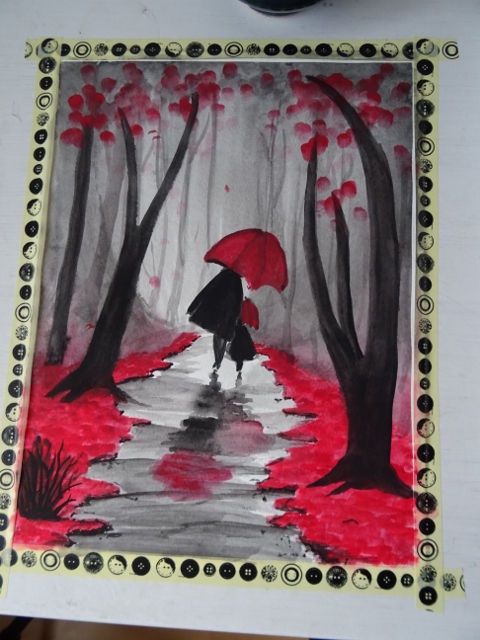
Add final details and layers (whatever looks like it needs it). I made the trees darker, fixed the roots, added darker lines to the bush, and added some black pebbles to the road.
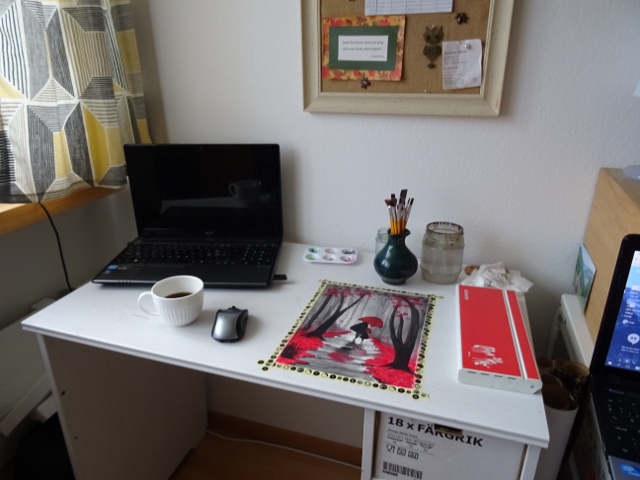
This is my happy work space J
Carefully remove the tape when it is completely dry, and you will have a nice clean edge to your painting! Let me know if you try it!